
On this page6 sections
Key takeaway
How professional attic insulation removal works in a GTA home, step by step: assessment, containment, extraction, inspection, disposal, and what to ask first.
01It starts with an assessment, not a truck
A removal should begin with someone establishing what is actually up there and why it is leaving. Attic size, access, insulation type and depth, and the condition of the material all change the scope, and so does the reason for the work — a pest problem, a leak, a renovation, or simply insulation that has stopped performing.
This is also the stage where suspect material gets identified. Vermiculite in particular should be flagged before anything is disturbed, since Health Canada advises treating it as potentially asbestos-containing until testing confirms otherwise.
A written, itemised scope before work starts is the practical test of a good assessment. It should say what is being removed, what happens to the attic afterwards, and what is included in disposal.
02Containment and setup
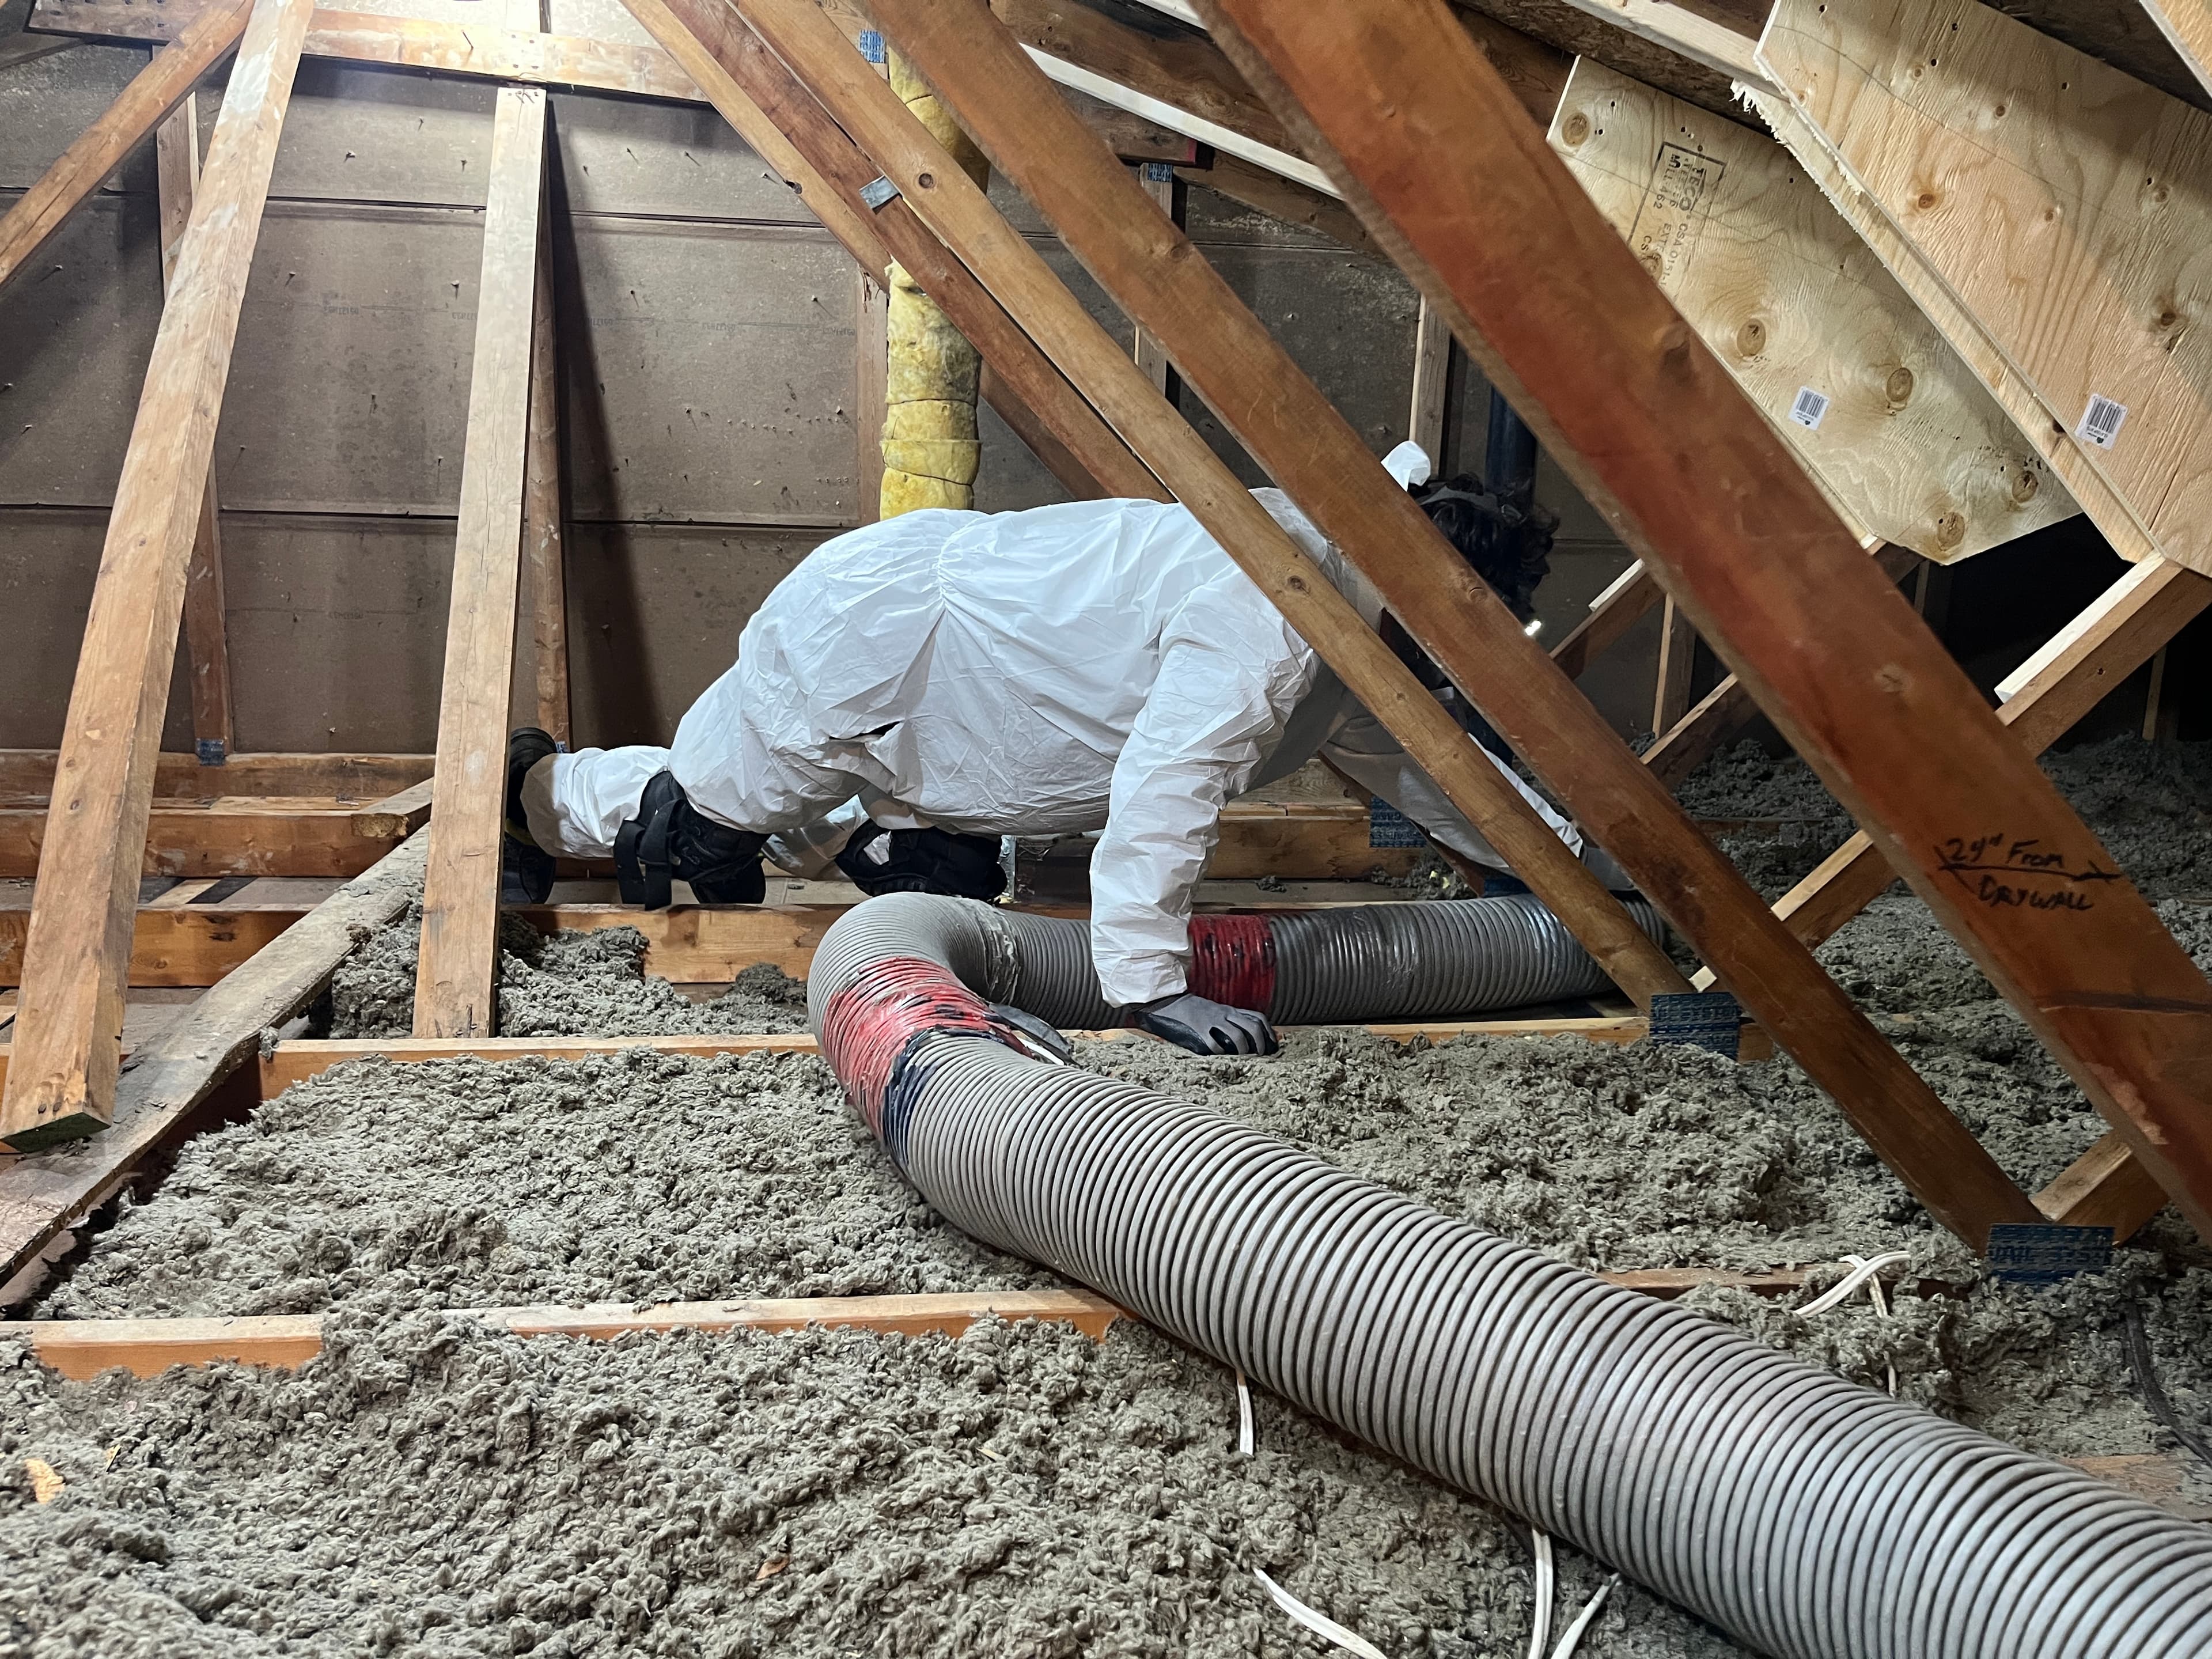
The vacuum unit stays outside the home. A wide hose runs from the machine to the attic hatch, which keeps the noise, the engine, and the bulk of the dust out of the living space entirely.
Inside, the work area and the route to it get protected — floor covering along the path, and the hatch opening sealed as well as the layout allows. The goal is that the only room affected is the one containing the access hatch.
Good setup is slower than bad setup, and it is the difference between a clean job and one that leaves dust through the second floor.
03Extraction
Loose blown-in material — fibreglass or cellulose — is vacuumed out through the hose and bagged as it leaves. Batt insulation is a different job: it comes out by hand and is bagged separately.
Crews work systematically across the attic rather than clearing the area near the hatch and stopping. Perimeter and eave areas are the sections most often left half-done, partly because they are the hardest to reach, and they are also where thin or displaced insulation causes the most heat loss.
Bags leave the house as they fill rather than accumulating in the attic, which keeps weight off the ceiling and the work area clear.
04The inspection that only an empty attic allows
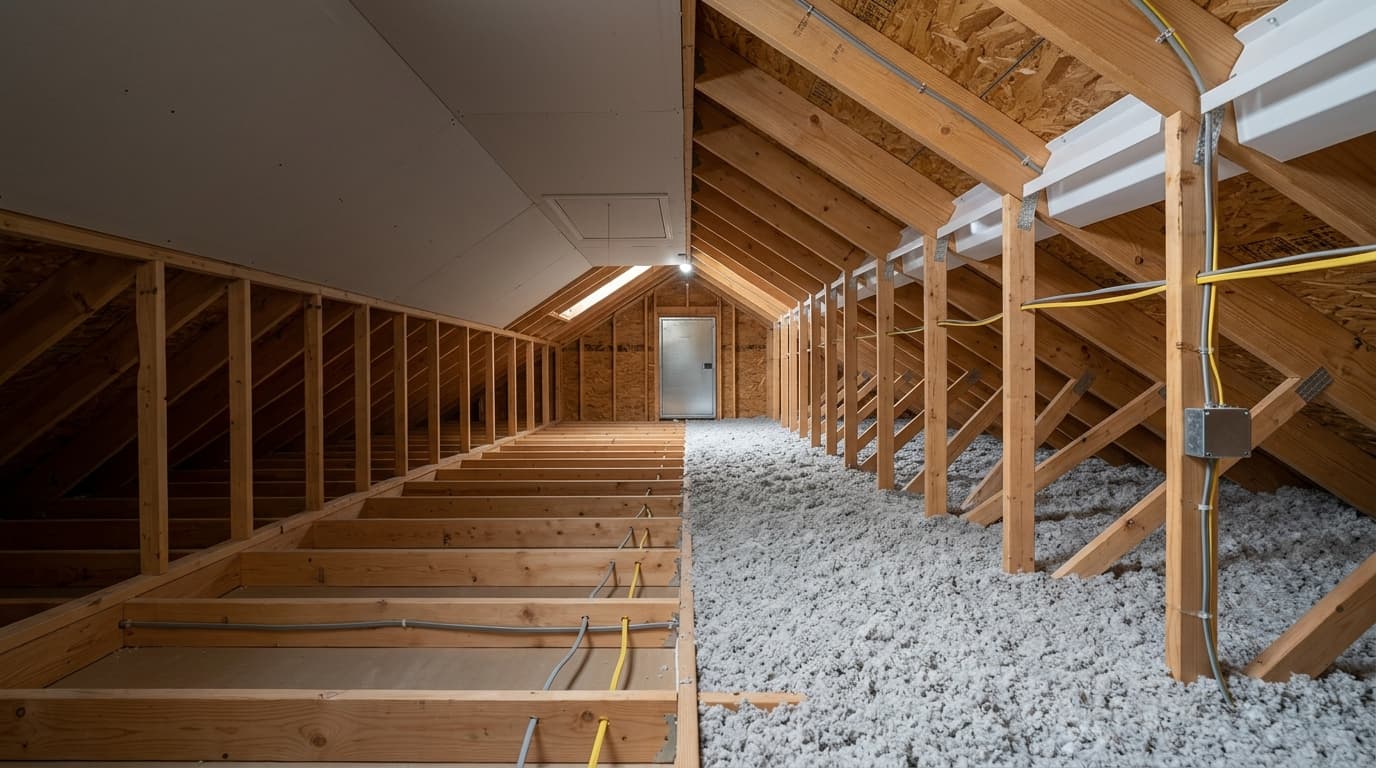
Once the floor is exposed, the attic is readable in a way it never is otherwise. Joists, sheathing, and rafters can be checked for moisture staining and water damage. Pest entry points and evidence become visible. Air leaks at top plates, pot lights, plumbing stacks, and the hatch itself are all accessible.
Ventilation is worth confirming at the same time. Natural Resources Canada emphasises keeping the air path clear at the eaves; baffles blocked by old insulation are a common finding, and an empty attic is the easiest moment to correct it.
This is also the point at which decisions get made about what comes next — whether the attic needs air sealing, repairs, or is ready for new insulation.
05Disposal and handover
All bagged material should leave the property as part of the job. Disposal is a normal part of a removal scope, and it is worth confirming it is included rather than billed separately.
A proper handover means walking through what was found, not just confirming the attic is empty. Moisture, pest evidence, blocked ventilation, and air-sealing opportunities are the findings that determine whether the next step is re-insulation or repairs first.
Before-and-after photos are reasonable to ask for. Most homeowners will never climb into the attic themselves, and documentation is the only practical record of what the space looked like at each stage.
06What to ask before booking
Ask what equipment will be used and whether the hose can reach the full attic from where the machine will sit. Reach is the constraint that quietly determines whether the far corners get cleared.
Ask whether disposal is included, what happens if vermiculite or significant mould is found once work begins, and whether the quote covers the attic being left ready for insulation or simply emptied.
If you are weighing the work against doing it yourself, our guide to DIY attic insulation removal covers the equipment, safety requirements, and the situations where a professional removal is the more sensible route.
Frequently asked questions
How long does a professional attic insulation removal take?
It depends on attic size, access, and insulation condition. A small, accessible attic is a much shorter job than a large or cut-up one with limited clearance, so the timeline should come from the assessment rather than a general figure.
Do I need to leave the house during the removal?
Usually not. The vacuum unit runs outside and the hose enters through the attic hatch, so the work is contained to the access area rather than spread through the living space.
What happens to the old insulation?
It is bagged as it comes out and removed from the property. Confirm that disposal is included in your quote rather than charged separately once the job is finished.
Will the attic be ready for new insulation right away?
Sometimes, but not always. If the inspection finds moisture, pest damage, or air leaks, those are better addressed while the attic floor is still exposed — adding new insulation over an unresolved problem tends to hide it rather than solve it.
Sources
- 1.Keeping the Heat In — Roofs and attics — Natural Resources Canada
- 2.Asbestos and your health — Health Canada
Written by
Attic Vac Insulation
A licensed and insured attic insulation contractor removing, installing and topping up insulation in homes across Toronto and the GTA, and renting the same 14 HP vacuum we work with.