
On this page9 sections
- 01What an attic baffle actually is
- 02Why baffles matter in a Toronto-area attic
- 03Are attic baffles necessary?
- 04Types of baffles and which to choose
- 05How many baffles you need, and how far up they go
- 06How to install attic baffles, step by step
- 07The best time to add baffles is when the attic is empty
- 08Common mistakes we see in GTA attics
- 09What baffles cost, and when to call someone
Key takeaway
Attic baffles stop insulation blocking your soffit vents. What they do, when Ontario homes need them, how many to use, and how to install them properly.
01What an attic baffle actually is
An attic baffle — also sold as a rafter vent, insulation baffle, or soffit baffle — is a thin channel fastened to the underside of the roof deck, between two rafters, right where the roof meets the exterior wall. Its only job is to hold insulation back from the roof sheathing so that air coming in through the soffit vents has a clear path up into the attic.
That sounds minor, and the product itself is cheap. But the eave is the most crowded and least forgiving spot in any attic. The roof slopes down to meet the wall, the space shrinks to a few inches, and it is exactly where blown-in insulation piles up and where outside air is supposed to enter. Without something holding that gap open, insulation drifts into the eave and chokes off the intake.
A baffle is not a vent in its own right. It does not create ventilation; it protects the ventilation that the soffit and roof vents are designed to provide. If a house has no working soffit intake, adding baffles will not fix that — the vents themselves have to be open first.
02Why baffles matter in a Toronto-area attic
Most GTA houses use a vented attic: cool outside air enters low at the soffits, moves up along the underside of the roof deck, and leaves high through roof vents or a ridge vent. That flow carries away heat and moisture that would otherwise collect against the sheathing. When insulation blocks the soffits, the bottom half of that system stops working, even if the roof vents look fine from the street.
The first consequence is moisture. Warm, humid air leaks up from the house into the attic all winter. With good airflow, most of it is carried out. With the intake blocked, it lingers and condenses on the cold sheathing — which is why frost on roofing nails, dark staining along the lower roof, and mould on north-facing sheathing so often trace back to the eaves.
The second is ice dams. A roof deck that is not being washed with cold air warms unevenly, snow melts over the attic and refreezes over the overhang, and a ridge of ice builds at the gutter line. Baffles are not a cure on their own — air sealing and insulation depth matter more — but a blocked eave makes ice dams much more likely.
The third is the insulation itself. Wind coming in through the soffits blows across the top of unprotected insulation at the perimeter, a problem called wind washing. It thins out exactly the area that is already hardest to insulate. A baffle with a proper end dam at the wall keeps that air above the insulation instead of through it, which is what lets you carry full-depth insulation right out to the exterior wall.
03Are attic baffles necessary?
In a vented attic with soffit vents, yes. The Ontario Building Code requires that ceiling insulation be installed in a way that does not restrict the free flow of air through roof vents, and where venting is provided to a roof joist space it calls for at least 63 mm of clear space between the top of the insulation and the underside of the roof sheathing. It also sets the overall unobstructed vent area at no less than 1/300 of the insulated ceiling area for a typical sloped roof. In practice, baffles are how an attic meets those clearances once insulation is blown to modern depths.
There are cases where baffles do not apply. An attic with no soffit intake at all — common on some older homes where the soffits were closed in or never vented — gains nothing from a baffle until intake is created. Unvented roof assemblies, such as a cathedral ceiling insulated with closed-cell spray foam applied directly to the underside of the deck, are designed without an air channel on purpose. And if you are only adding a thin layer of insulation that stays well below the eave, the existing path may already be clear, although that is rare once you top up to current recommended levels.
The practical test is simple: from inside the attic, look at the eaves. If you can see daylight or soffit venting and insulation is pushed up against it, or if insulation is visibly packed into the roof slope, the attic needs baffles before any more material goes in.
04Types of baffles and which to choose
Rigid foam baffles are the most common product at home centres. They are made of extruded or expanded polystyrene, come in roughly four-foot lengths, and are sized in widths of about 14-1/2 and 22-1/2 inches to fit rafters spaced 16 or 24 inches apart. They are light, moisture-resistant, and easy to staple, which is why most installers use them.
Cardboard and paper-based baffles are cheaper and fold into shape. They work, but they can sag or soften if the eave ever gets damp, and they are easier to crush while you are working in a tight space. Plastic baffles are more durable and hold their shape well, at a slightly higher cost.
Site-built baffles, cut from rigid foam board or thin plywood, are the better choice for wide or irregular rafter bays, older homes with non-standard framing, or places where the channel needs to be deeper than off-the-shelf products allow. They take more time but let you build a continuous, well-sealed channel with a solid end dam at the wall.
Whichever type you choose, match the width to your actual rafter spacing — measure it rather than assuming — and make sure the product leaves a real air gap after installation. A baffle that is squashed flat against the sheathing is only decoration.
05How many baffles you need, and how far up they go
The rule is one baffle channel in every rafter bay that has soffit venting below it. On a typical house that means a baffle in each bay along both eaves of the main roof. Skipping every other bay to save time leaves half the soffit intake blocked, which defeats the point.
Height matters as much as count. The baffle has to extend up the roof slope far enough that its top edge sits above the finished insulation surface. A single four-foot length is often enough for a light top-up, but when you insulate to the depths now recommended for Ontario attics, the insulation rises well up the slope and a second length, overlapped and stapled, is frequently needed. If insulation can spill over the top of the baffle, it will eventually fill the channel from above.
At the bottom, the baffle should run down to the top plate of the exterior wall, and the gap between the baffle and the wall should be closed with an end dam — a piece of rigid foam or cardboard that stops blown insulation from being pushed into the soffit and stops soffit wind from blowing into the insulation.
06How to install attic baffles, step by step
Start by confirming the soffits are actually vented. From outside, look for perforated or slotted soffit panels. From inside, look for light at the eaves on a sunny day. If the soffits are solid or have been painted over, sort that out first — baffles cannot draw air through a closed soffit.
Clear the eaves. Pull back or vacuum out the insulation packed into the last few feet of each rafter bay so you can reach the top plate and the underside of the roof deck. This is the hardest part of the job in a fully insulated attic, and it is the reason most homeowners find it far easier to install baffles when the attic has just been emptied.
Air seal the top plates while they are exposed. The joint where the wall meets the ceiling is one of the leakiest spots in the house, and it is only reachable at this stage. Sealing it before the baffle goes in reduces the warm, moist air that reaches the eaves in the first place.
Fit each baffle against the underside of the roof deck, centred between the rafters, with its lower end reaching down toward the top plate. Staple it to the sheathing along its flanges — ENERGY STAR's rafter-vent guidance describes fastening the vents directly to the roof decking this way. Take care not to crush the channel as you staple.
Add the end dam. Cut a piece of rigid foam or cardboard to fit between the rafters at the outer edge of the top plate, from the ceiling up to the underside of the baffle. This holds blown insulation back from the soffit and lets you insulate right out to the wall.
Then insulate. With the channels in place, batts or blown insulation can be brought all the way to the exterior edge at full depth. Do a final check from the hatch: each bay should show a clear channel above the insulation surface.
07The best time to add baffles is when the attic is empty
Baffles are a five-minute job per bay in an empty attic and a miserable one in a full attic. Crawling to the eaves over a deep layer of blown insulation, in a space that narrows to a few inches, is the part that makes homeowners give up.
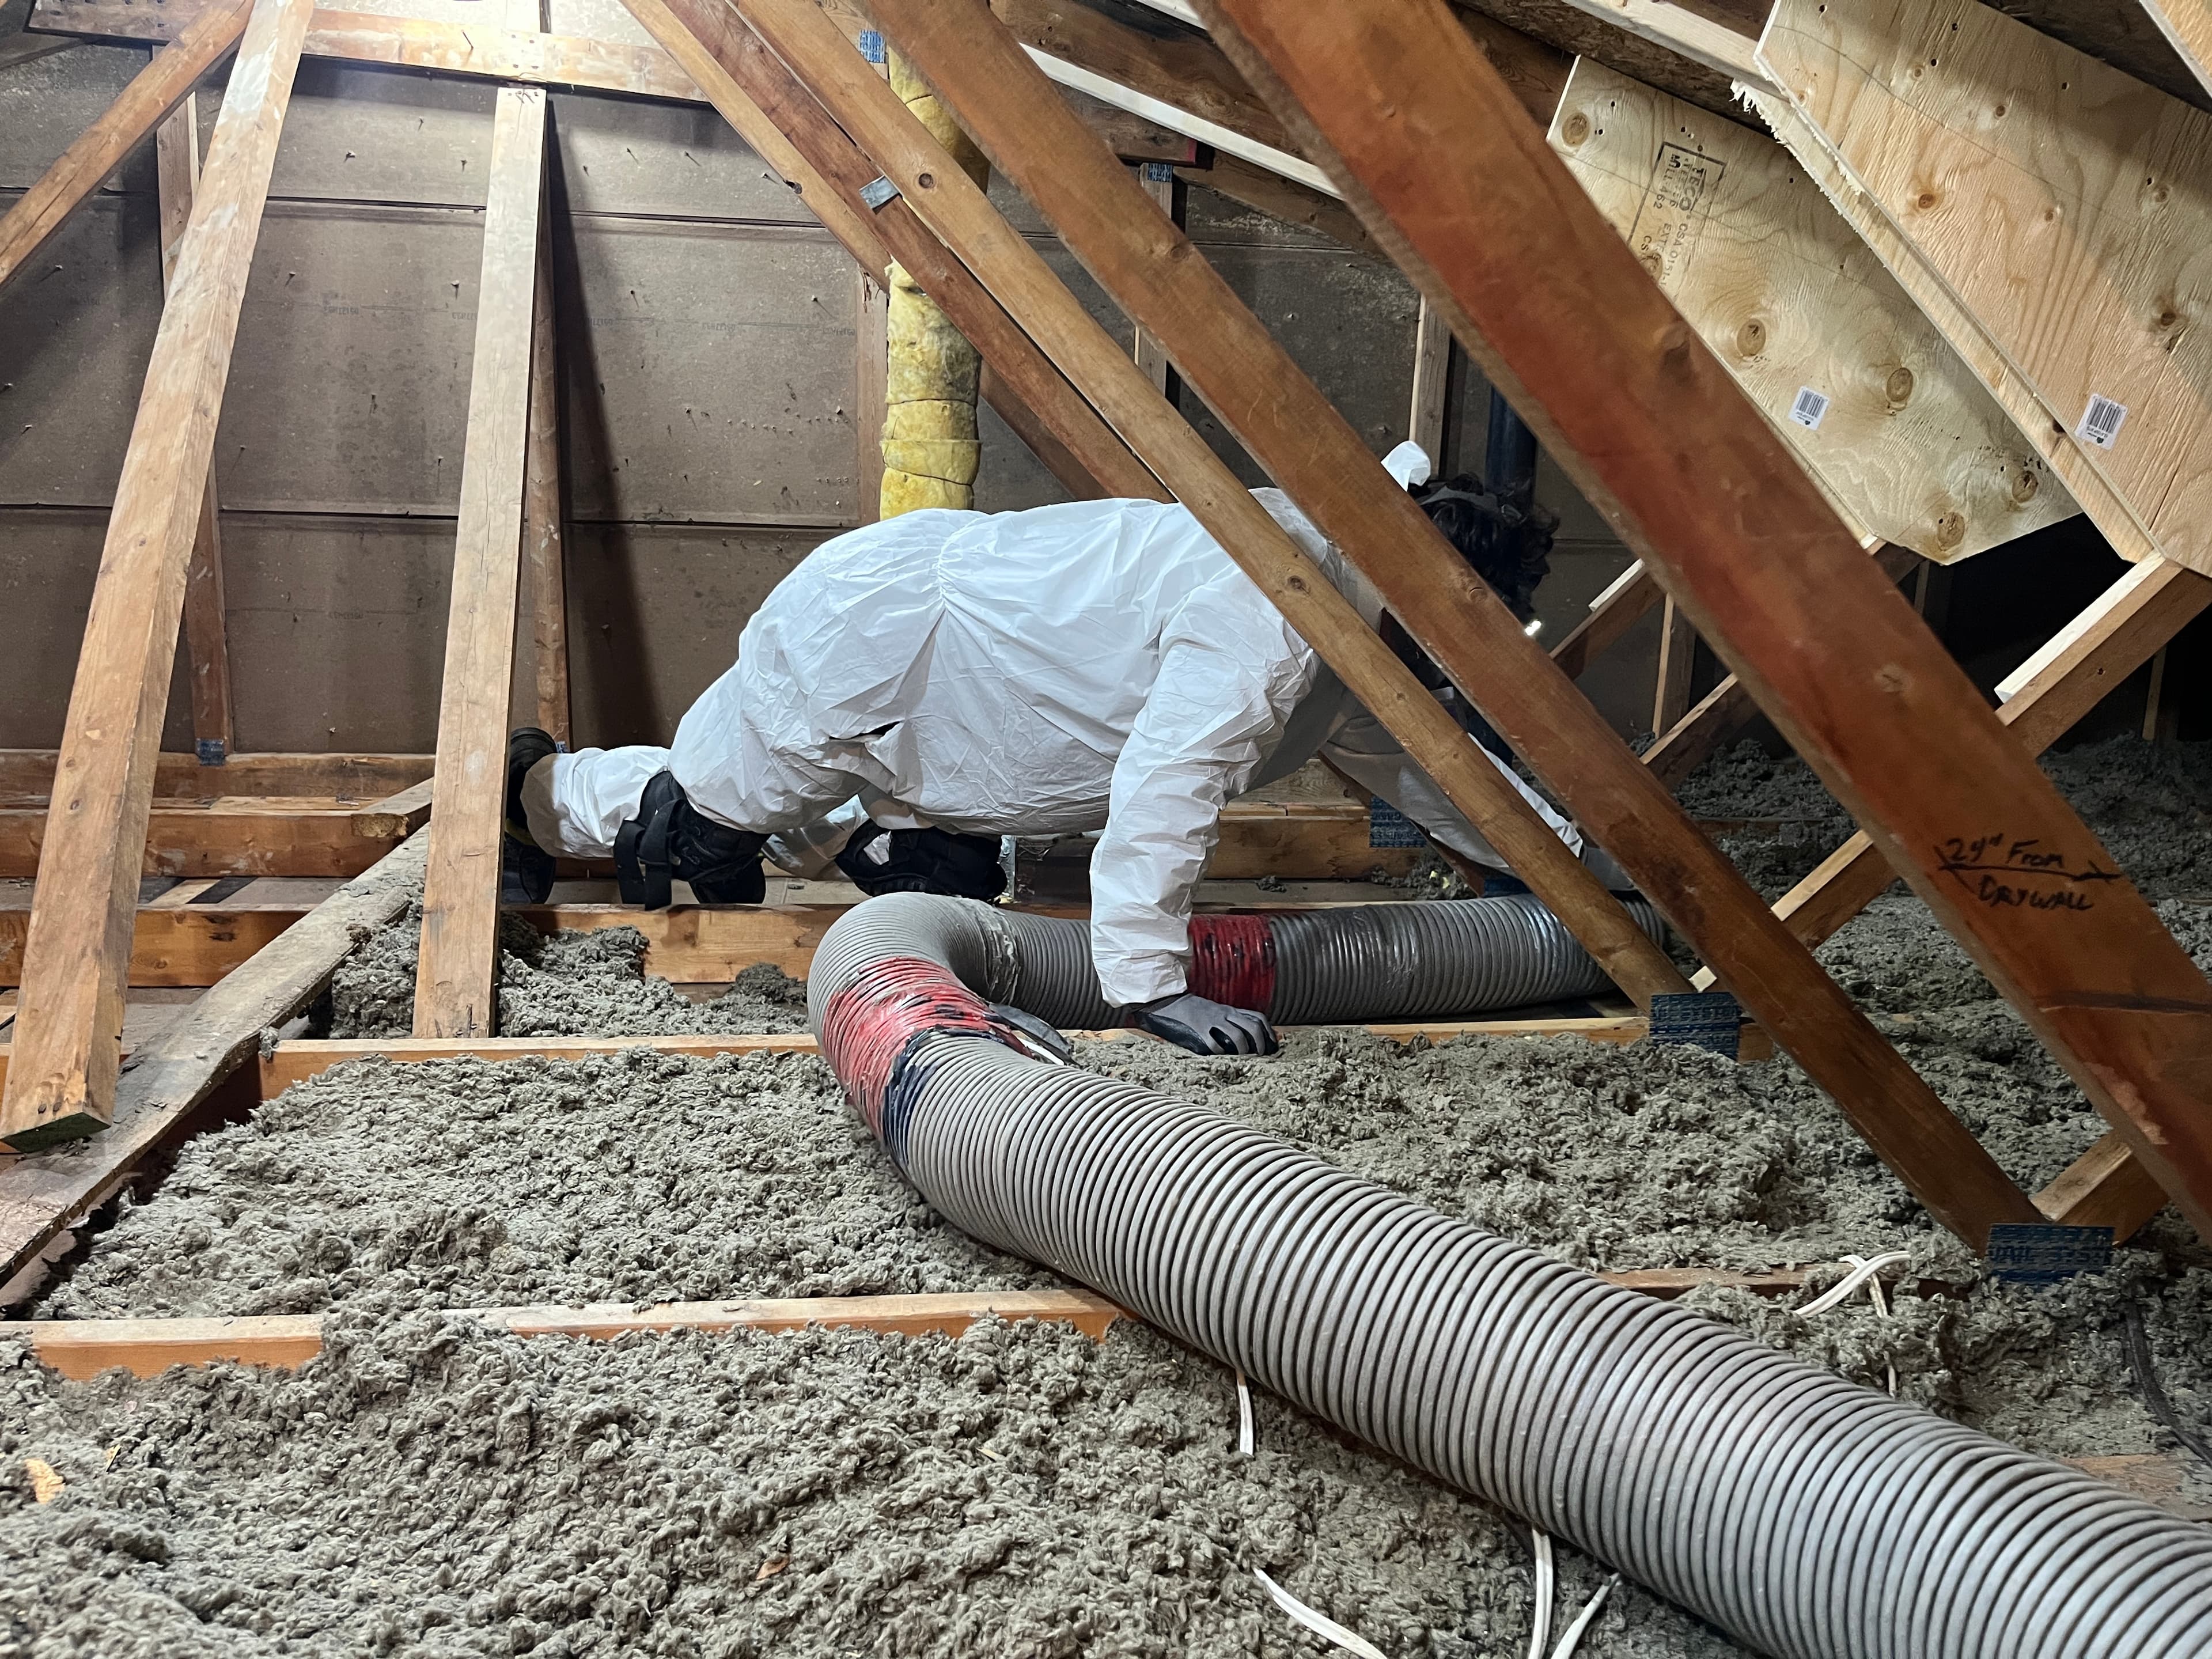
That is why we plan baffles and top-plate air sealing into insulation removal and re-insulation work. Once old insulation is vacuumed out, the eaves are fully accessible, the top plates can be sealed, and the baffles can be installed properly before new insulation goes in. If you are clearing an attic yourself with a rented insulation vacuum, the same logic applies — put the baffles in during the window between removal and re-insulation, not after.
If your insulation is clean and dry and you only want a top-up, baffles can still be retrofitted. It just means carefully clearing each eave, installing the channel, and restoring the insulation around it before the top-up is blown in.
08Common mistakes we see in GTA attics
Baffles that stop short. A single length installed under deep insulation is buried from above within a season, and the intake is blocked again.
No end dam. Without it, the installer blowing new insulation pushes material straight past the baffle into the soffit, and wind from the soffit blows through the perimeter insulation.
Baffles in bays with no soffit vent. They do no harm, but they create a false sense that ventilation is handled while the real intake problem goes unaddressed.
Bathroom and kitchen fans venting into the attic. A disconnected or dumped exhaust duct puts warm, wet air directly into the space. No amount of baffling keeps up with that; the duct needs to be connected and run to the exterior.
Skipping air sealing. Baffles keep the airflow path open, but air sealing is what keeps moist house air out of the attic in the first place. The two work together, and the attic performs best when both are done at the same time.
09What baffles cost, and when to call someone
The material cost is low — rigid foam baffles are a few dollars each at a home centre, and even a larger house needs only a few dozen. The real cost is labour and access: reaching the eaves, clearing insulation, sealing top plates, and doing it without stepping through the ceiling.
If the attic is being professionally insulated or topped up, baffles and end dams should be part of the scope, not an extra. When you compare quotes, ask each contractor whether baffles are included, how far up the slope they will extend, and whether top-plate air sealing is part of the job. Our attic insulation cost guide breaks down what typically goes into a quote.
Call a professional if the eaves are too tight to reach safely, if you find signs of moisture damage or mould along the lower roof deck, or if the attic contains anything that looks like vermiculite. In those cases the eave work is the easy part; the conditions around it need to be assessed first.
Frequently asked questions
Are attic baffles necessary?
In a vented attic with soffit vents, yes. Ontario's Building Code requires that insulation not restrict airflow through roof vents and calls for at least 63 mm of clear space between the insulation and the roof sheathing where roof spaces are vented. Baffles are how an attic keeps that space open once insulation is added to modern depths.
Do you put baffles in every rafter bay?
Every rafter bay that has soffit venting below it should get a baffle. Skipping bays leaves part of the soffit intake blocked, which reduces airflow through the whole attic.
How far up should attic baffles go?
High enough that the top of the baffle sits above the finished insulation surface. For deep insulation levels that often means overlapping two lengths. If insulation can spill over the top, it will eventually fill the channel.
Can I install baffles without removing all my insulation?
Yes. You only need to clear the insulation from the eaves in each rafter bay, install the baffle and end dam, then restore the insulation. It is much easier, though, when the attic is empty — which is why baffles are best installed during a removal and re-insulation project.
Do I need baffles with spray foam insulation?
Not when closed-cell spray foam is applied directly to the underside of the roof deck to create an unvented assembly — that design deliberately has no ventilation channel. If spray foam is used only to air seal the attic floor and the roof stays vented, baffles are still needed at the eaves.
Sources
- 1.Installing Rafter Vents — ENERGY STAR (U.S. EPA / DOE)
- 2.Look for and Install Attic Vent Baffles — Building America Solution Center (PNNL / U.S. DOE)
- 3.O. Reg. 332/12: Building Code (Section 9.19, Roof Spaces) — Government of Ontario
Written by
Attic Vac Insulation
A licensed and insured attic insulation contractor removing, installing and topping up insulation in homes across Toronto and the GTA, and renting the same 14 HP vacuum we work with.